Try out ZeeDrive with a free 7 day trial subscription for 5 users.* Once you download ZeeDrive, run the app and follow the steps below to setup your trial and activate ZeeDrive on your computer.
After activation, you’re ready to set up your first network drive and deploy to your users.
*The trial also includes licences for trialling ZeeDrive on hot desk computers and desktop servers.
The ZeeDrive trial subscription limits the amount of data you can upload or download through your mapped drives in any given 24 hour period to 5,000 file uploads or 3GB of data and 10,000 file downloads or 5GB of data.
Zee Drive requires Microsoft .Net Framework 4.8 or above. Zee Drive is supported on Windows 10, Windows 11, Windows 11 ARM64 and Windows Server 2016 and above (x64 CPUs).
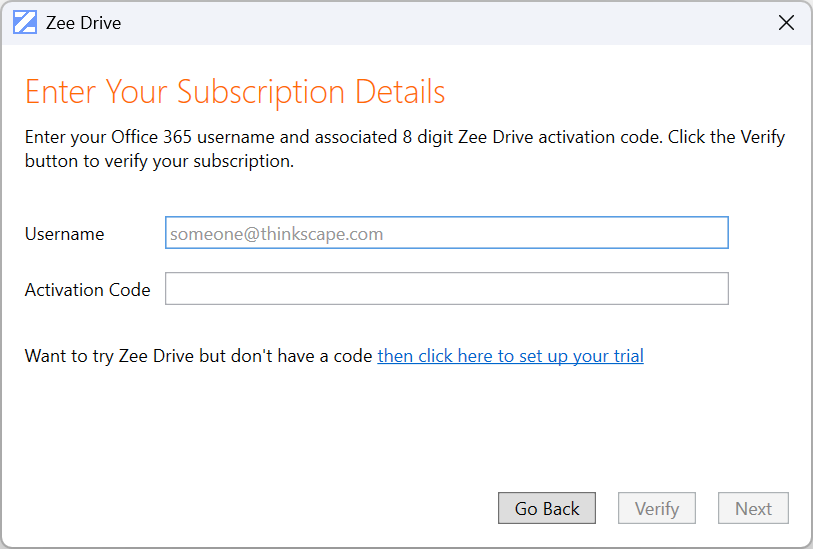
Click the button below button to download the ZeeDrive.exe executable file to your computer. After downloading it, double click the ZeeDrive.exe to run it. The ZeeDrive wizard will pop open. Click the “Next” button and you should see the screenshot shown here.
As this is the first time you are running ZeeDrive, click the blue link at the bottom of the wizard: “then click here to set up your trial”. After you click the link, the wizard will walk you through the trial set up process.
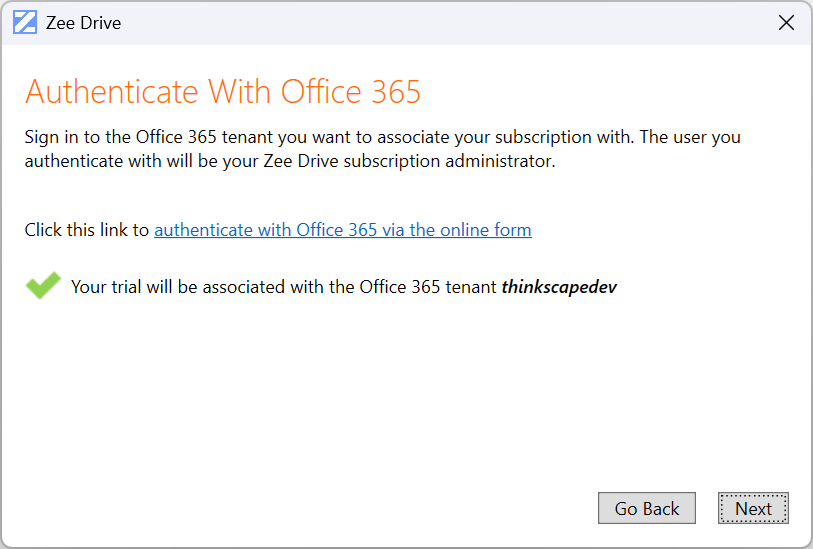
Authenticate with Microsoft 365
The next step is to sign in to the Microsoft 365 tenant you want to associate with your trial subscription. The user you sign in with will become your ZeeDrive subscription administrator. To sign in, click the blue “authenticate with Office 365 via the online form” link. After successful authentication, the associated tenant name will detected automatically and displayed.
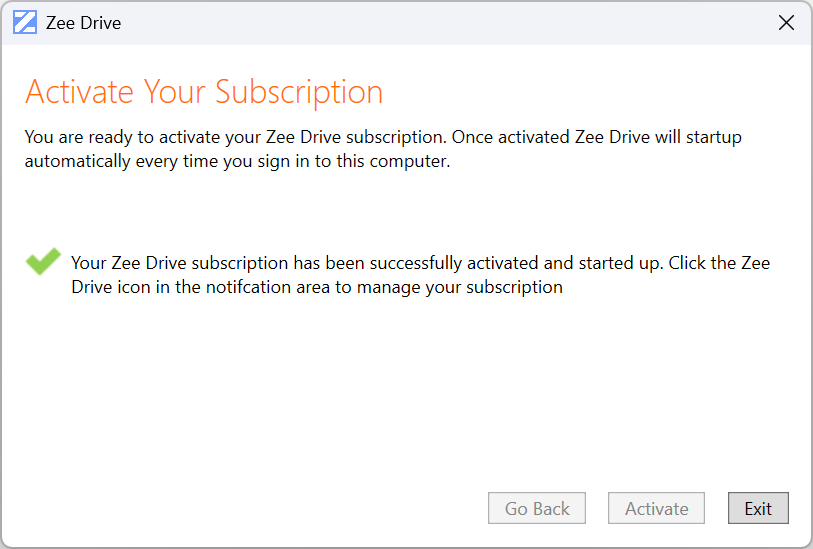
Activate Your Trial Subscription
Continue through the wizard by clicking the Next button. You’ll be prompted for a contact email address where your subscription details will be sent to. Continue further through the wizard. Finally, when you click the Activate button, ZeeDrive will install and activate your subscription on your computer. ZeeDrive will start up each time you sign in to Windows.
Now you’re ready to set up a virtual network drive and add other users in your organisation on to your subscription. Check the step-by-step guide on our documentation site here to Set Up A Network Drive and your users.